How to Cook Arm Roast – Easy & Delicious Slow-Cooked Meal
There’s nothing quite like the aroma of a perfectly cooked arm roast filling your kitchen—tender, juicy, and packed with deep, savory flavors. Whether you’re craving a comforting Sunday dinner or an effortless meal that impresses, mastering this slow-cooked classic is a must.
Arm roast (sometimes called chuck arm roast) is an underrated cut that transforms into melt-in-your-mouth perfection with the right technique. If you’ve ever wondered how to turn this affordable piece of beef into a showstopping dish, you’re in the right place.
Why Arm Roast Is Perfect for Slow Cooking
Not all cuts of beef are created equal, and the arm roast stands out for its rich flavor and budget-friendly price. Here’s why it’s ideal for low-and-slow cooking:
- Loaded with Marbling – The fat melts during cooking, keeping the meat moist and flavorful.
- Connective Tissue Breaks Down – Long cooking turns tough fibers into fork-tender goodness.
- Versatile for Multiple Dishes – Use it for pot roast, shredded beef, stews, or sandwiches.
Unlike leaner cuts that dry out, arm roast rewards patience with incredible texture and taste.
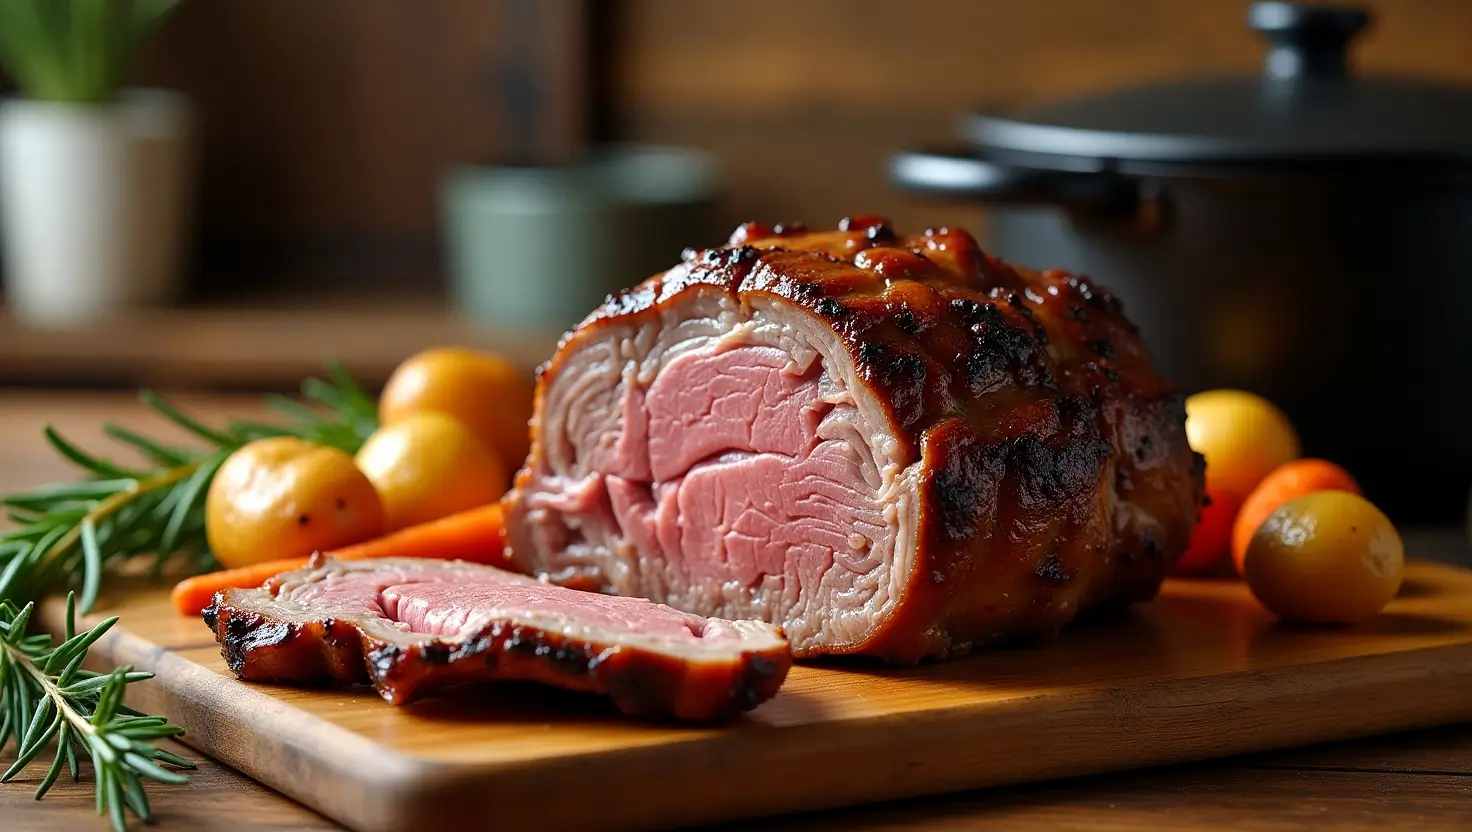
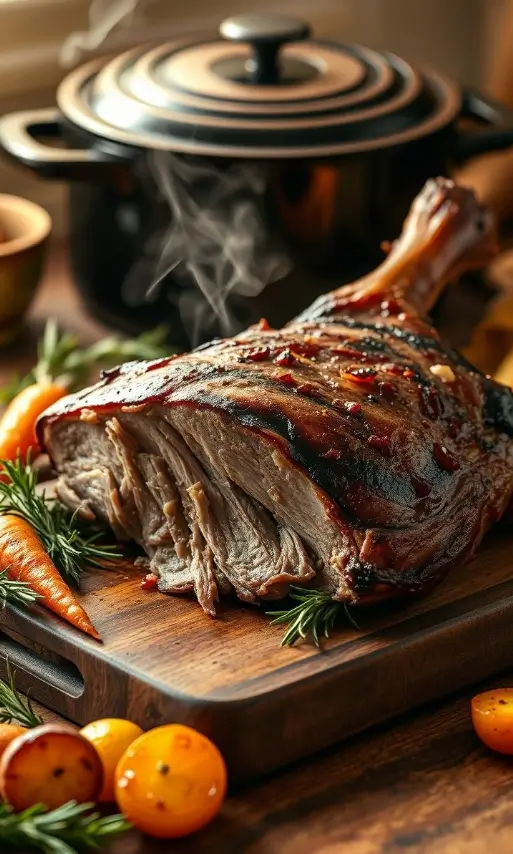
How to Cook Arm Roast – Step-by-Step Guide
1. Choosing the Best Arm Roast
Before you start cooking, picking the right roast makes all the difference.
- Look for Marbling – More fat means better flavor and tenderness.
- Size Matters – A 3-4 lb roast feeds a family with leftovers.
- Fresh vs. Frozen – Fresh is best, but frozen works if thawed overnight in the fridge.
2. Essential Ingredients for Maximum Flavor
You don’t need fancy ingredients—just a few basics to enhance the natural richness of the beef.
| Ingredient | Quantity | Why It’s Important |
|---|---|---|
| Arm roast | 3-4 lbs | The star of the dish |
| Olive oil or butter | 2 tbsp | Helps with searing |
| Beef broth | 2 cups | Keeps meat moist |
| Onion & garlic | 1 each | Adds depth |
| Carrots & potatoes | 3-4 each | Classic sides |
| Salt & pepper | To taste | Essential seasoning |
| Rosemary & thyme | 1 tsp each | Herbs for aroma |
3. Cooking Methods: Oven vs. Slow Cooker
Oven Method (Best for Crispy Exterior)
- Preheat oven to 275°F (135°C).
- Sear the roast in a hot Dutch oven with oil until browned on all sides.
- Add broth, veggies, and herbs, then cover and roast for 4-5 hours until fork-tender.
Slow Cooker Method (Easiest, Hands-Off)
- Sear the roast (optional but recommended).
- Place everything in the slow cooker with broth.
- Cook on low for 7-8 hours or high for 4-5 hours.
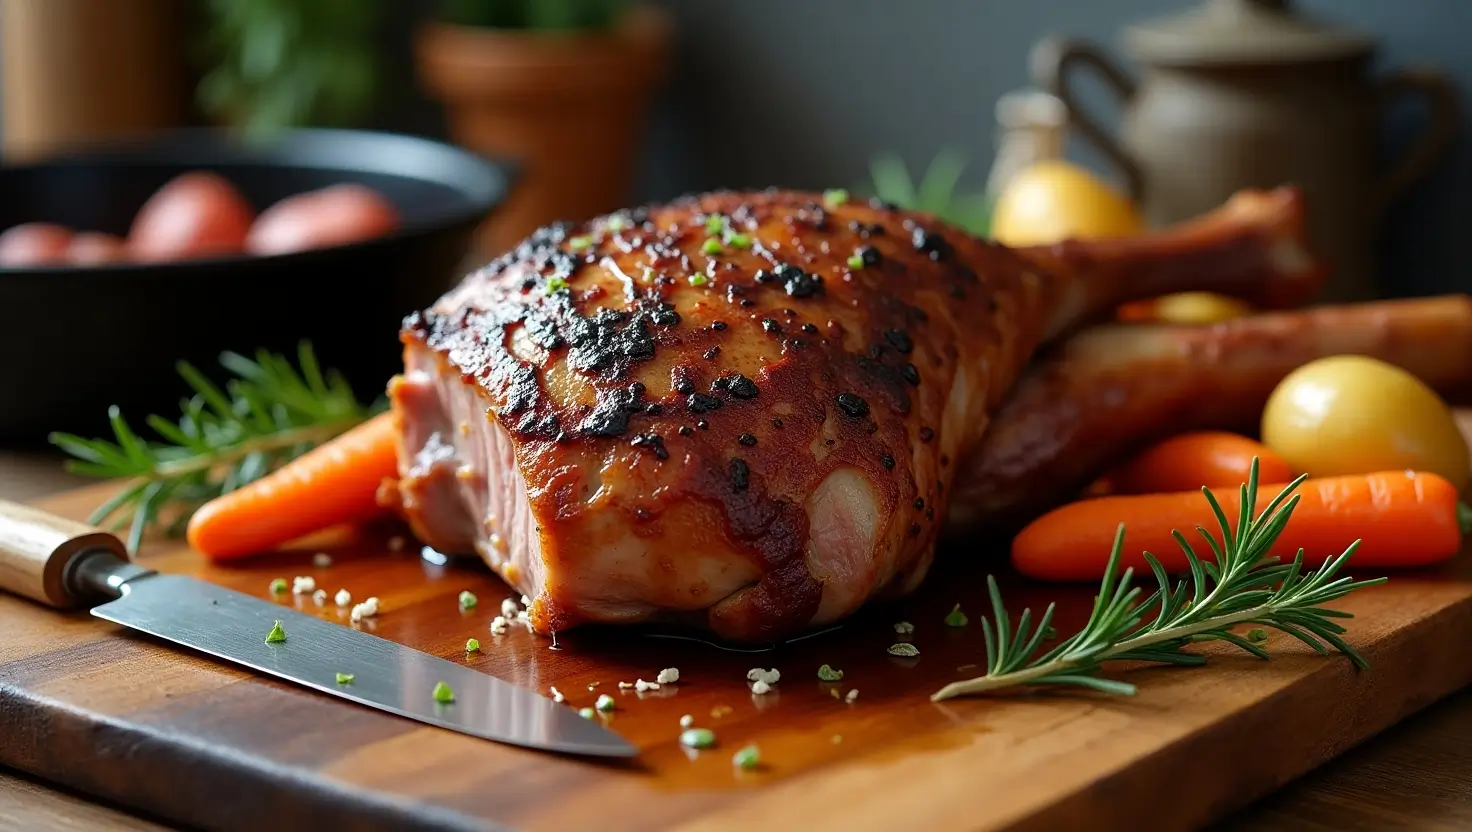
4. Pro Tips for the Best Results
- Never skip the sear – Browning locks in juices and adds flavor.
- Low and slow is key – High heat makes the meat tough.
- Use a meat thermometer – The ideal internal temp for shredding is 195-205°F (90-96°C).
- Let it rest – Wait 10-15 minutes before slicing to keep it juicy.
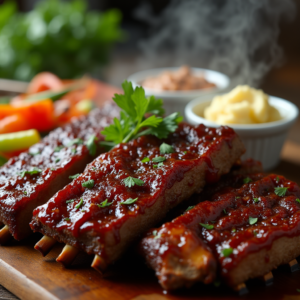
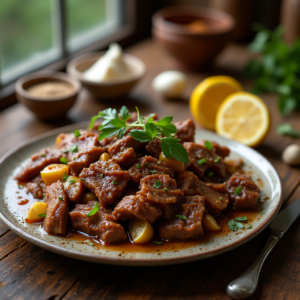
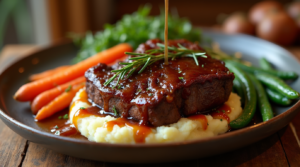
Serving Suggestions & Leftover Ideas
Your perfectly cooked arm roast deserves the right sides and creative reuse.
- Classic Comfort Meal – Serve with mashed potatoes, roasted carrots, and gravy.
- Shredded Beef Tacos – Toss with taco seasoning and warm tortillas.
- Hearty Sandwiches – Pile onto crusty bread with horseradish mayo.
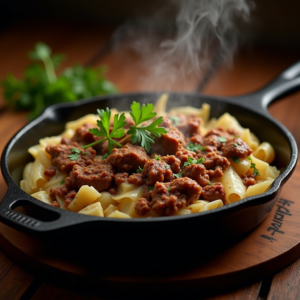
- Beef Stew – Chop leftovers and simmer with broth and veggies.
FAQs About Cooking Arm Roast
1. How long does it take to cook an arm roast?
- Oven: 4-5 hours at 275°F.
- Slow cooker: 7-8 hours on low.
2. Can I cook it without searing first?
Yes, but searing adds a richer flavor.
3. What’s the best way to store leftovers?
- Fridge: 3-4 days in an airtight container.
- Freezer: Up to 3 months (thaw overnight before reheating).
4. Can I use a different cut if I can’t find arm roast?
Yes! Chuck roast or bottom round are good substitutes.
Final Thoughts: Your New Favorite Comfort Meal
An arm roast is proof that the best meals don’t have to be complicated. With just a few simple steps, you can turn an affordable cut into a dish that tastes like it simmered all day (because it did!).
Now that you know the secrets to a perfect arm roast, it’s time to get cooking. Gather your ingredients, fire up the oven or slow cooker, and let the magic happen.
Ready to try it? Share your results in the comments—we’d love to hear how yours turned out!